Let’s say your company uses Active Directory Department Attribute to map a network drive on Windows domain-joined devices to different departments using GPO. But what if the company wants to map the same network drive to UEM-managed devices associated with Entra ID?
In this blog I will explain how you can configure and manage this.
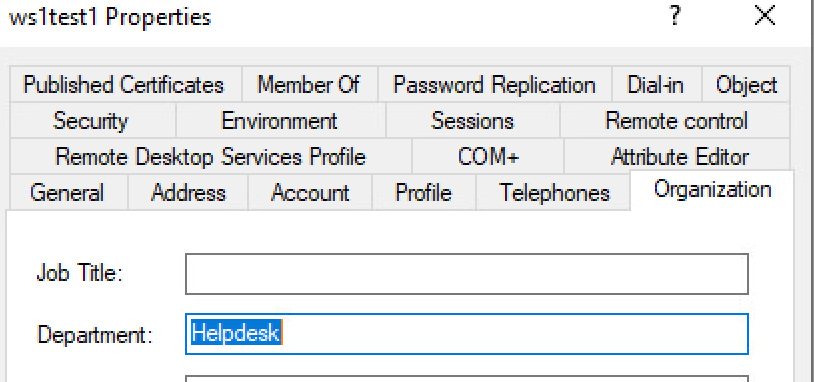
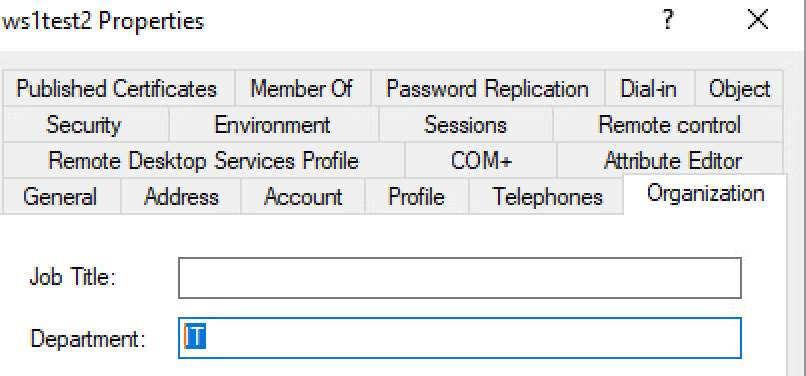
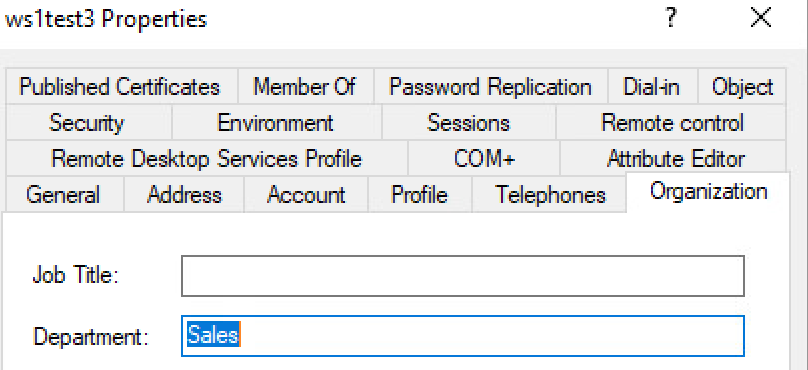
In this example I am using three users in three different departments.

Using three different Network Shares for each department.

Let’s take a look at how to configure the UEM.
First of all you need to Enable the Custom Attributes in UEM.
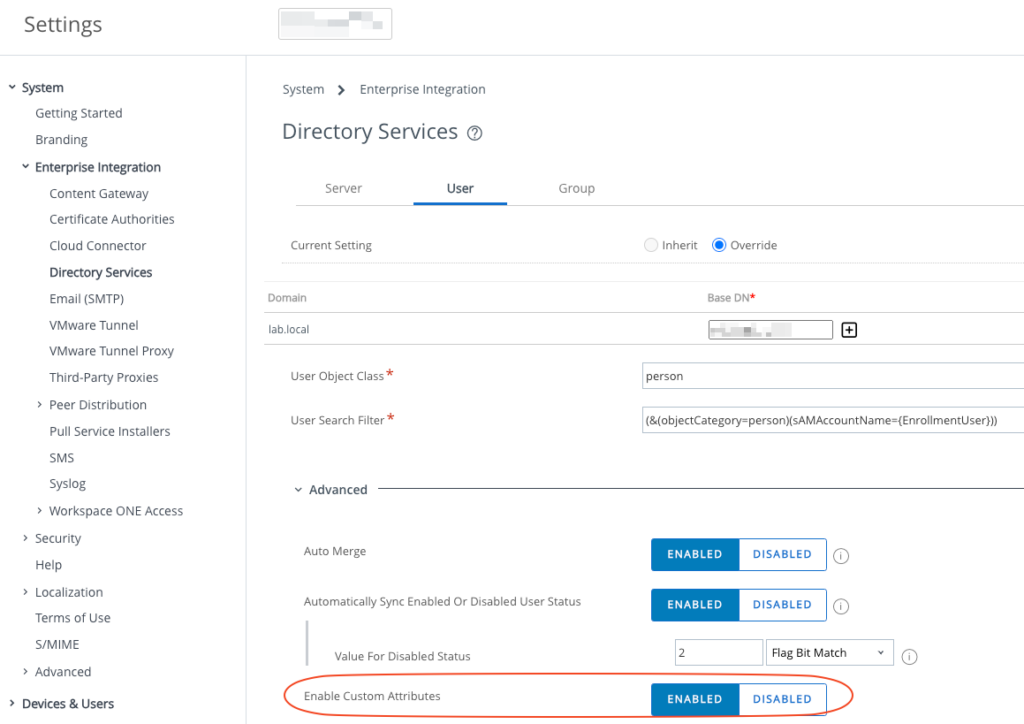
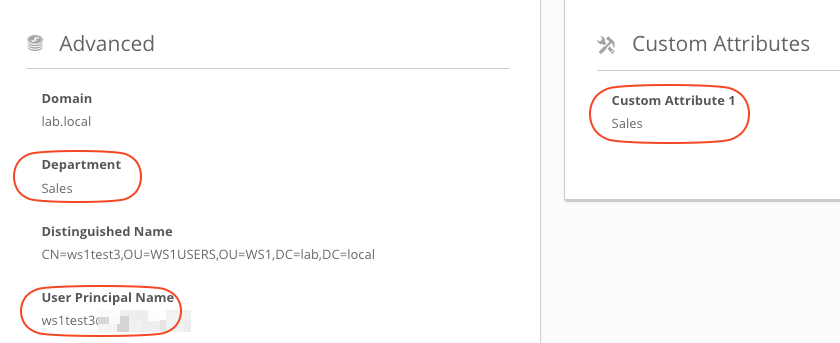
Then configure the Custom Attribute 1 with the Mapping Value “department”. To be sure that de AD Attributes are in sync click on Sync Attributes.
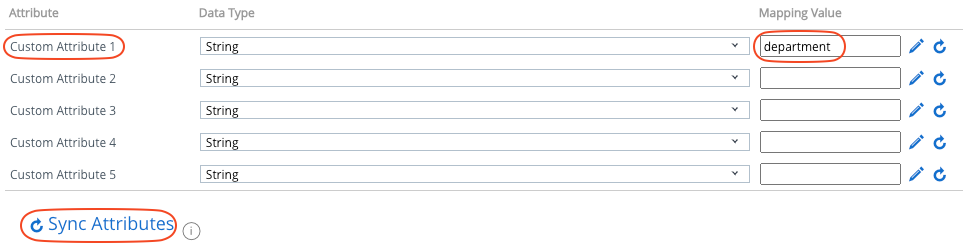
And be sure that the Department attribute is there.

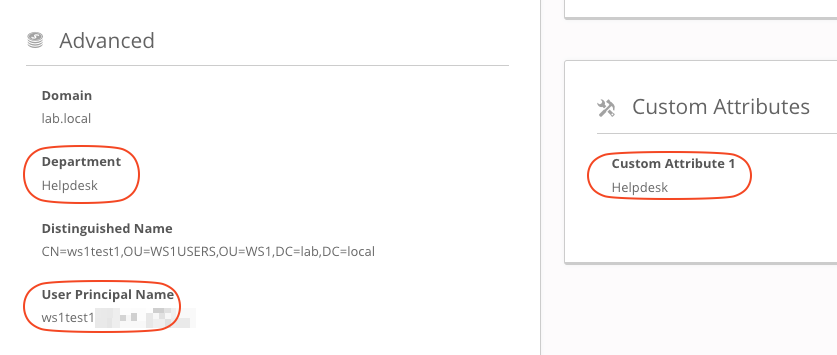
Let’s check the users attributes in UEM. Go to Accounts and open the Users Summary.
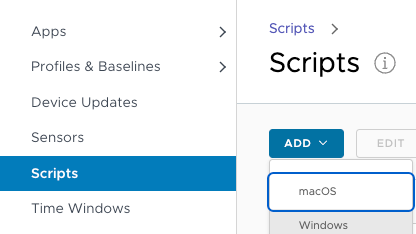
Now use Scripts in UEM to push a PowerShell script to devices to create the appropriate network share for users. Add a Windows script.
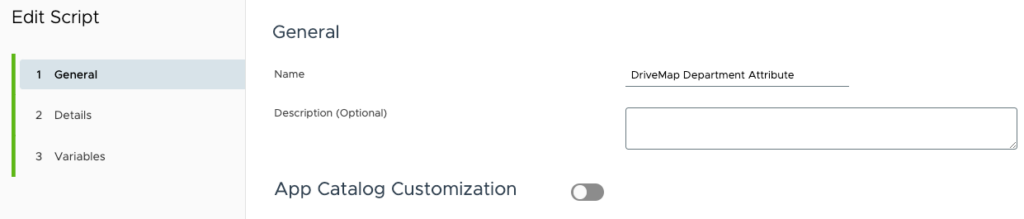
Give the Script a name in General.
I am using drive T in my example. Write de script in Details. Please note +’$’ in UNC path. This is to realize the hidden share. No need if you are not using the hidden share.
# Define the server name and UNC path
$serverName = "win201902.lab.local"
$department = $env:department
$TuncPath = "\\$servername\$department"+'$'

# Check if the server is reachable
if (Test-Connection -ComputerName $serverName -Count 1 -Quiet) {
    # Server is reachable
    # Check if drives already exist
    $TDriveExists = Test-Path -Path "T:\"

    if (-not $TDriveExists) {
        # Implement drive mapping logic here
        New-PSDrive -Name "T" -PSProvider FileSystem -Root $TuncPath -Persist

        #Rename T drive
        $U = New-Object -ComObject shell.application
        $U.NameSpace( "T:\" ).self.name = "Department"
    }
    else {
        Write-Host "Drive T already exist. No need to map them again."
    }

}
else {
    # Server is not reachable

    Write-Host "Fileserver not reachable."
}
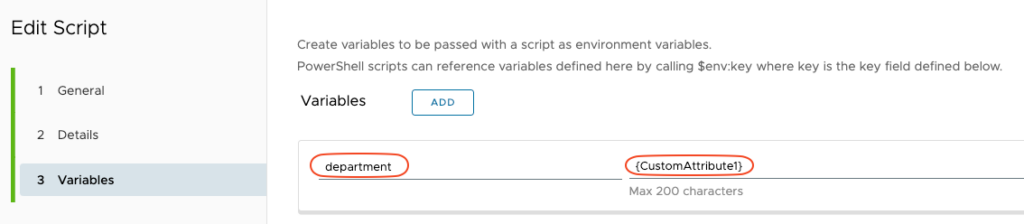
This is very important to configure the correct variable.
Now save the script and Assign to Windows devices.
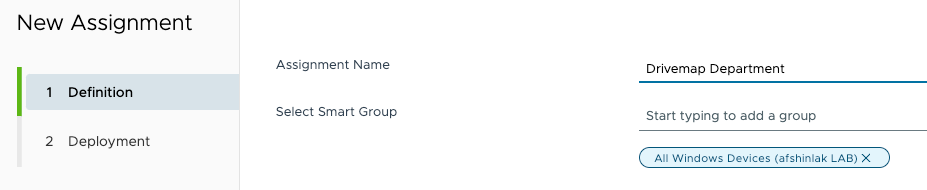
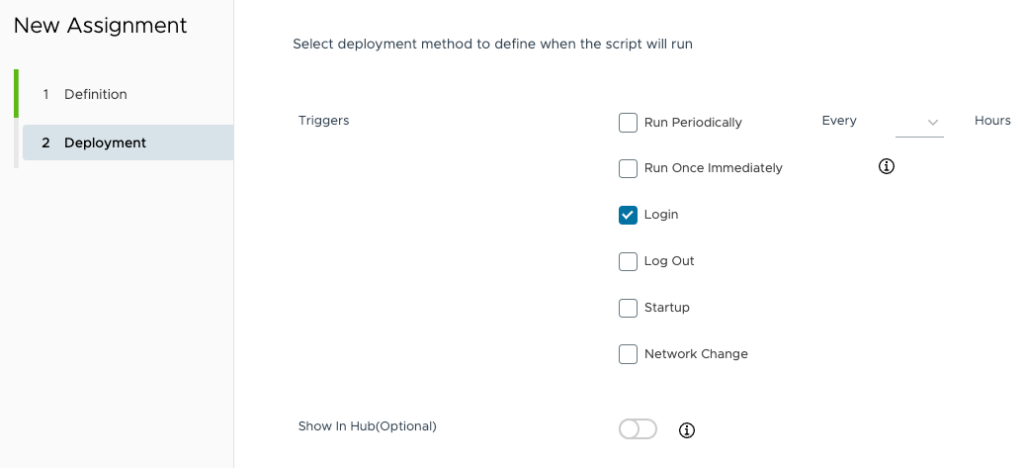
Configure the deployment on login. When the user logs in, the T-drive is mapped to the appropriate share.
Let’s see how it works.
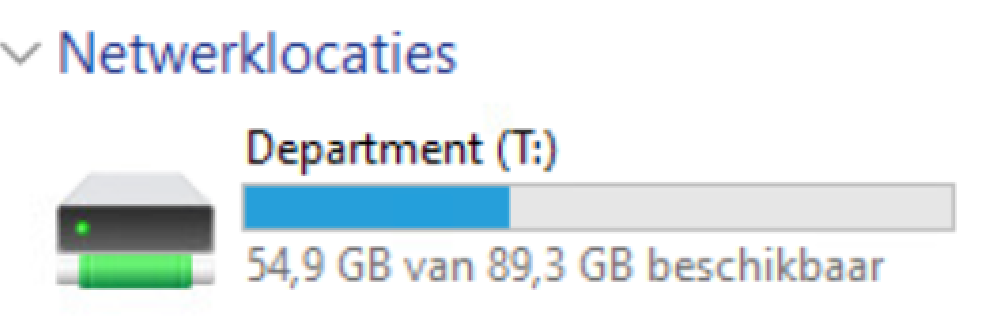
First log in with the test user 1 from the Helpdesk department.

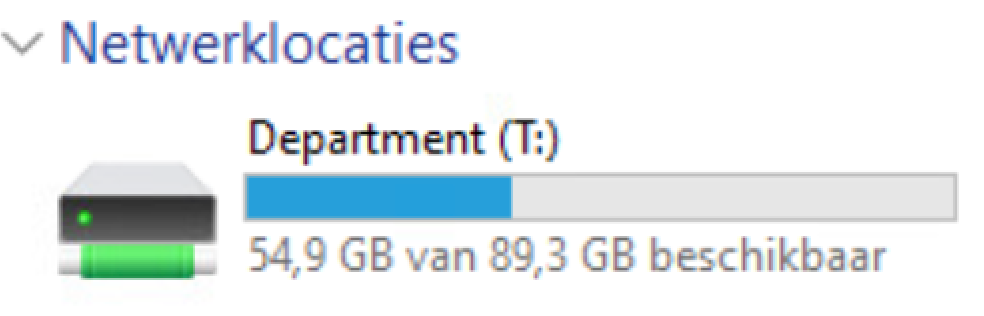
After login you will see the drive T is created.
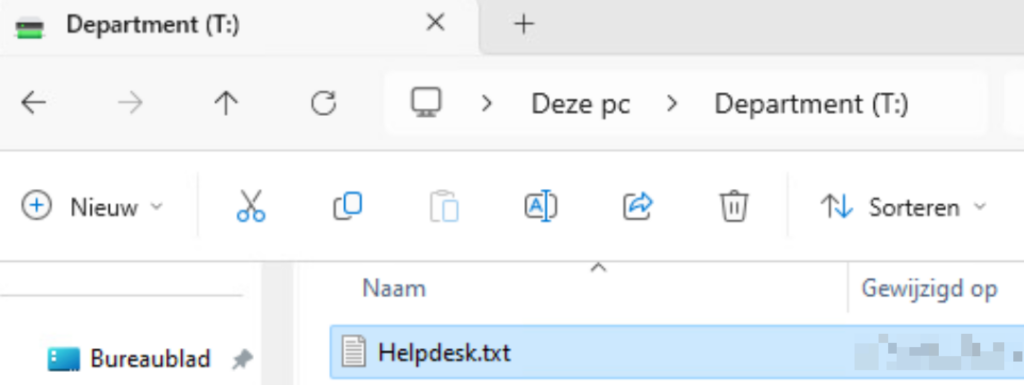
When you open the T drive you will see the Helpdesk network share.
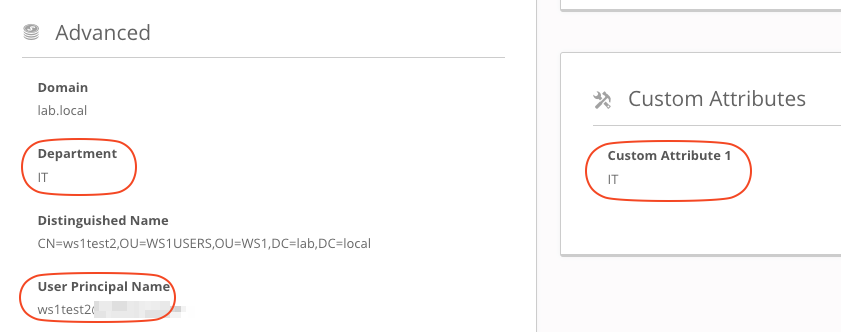
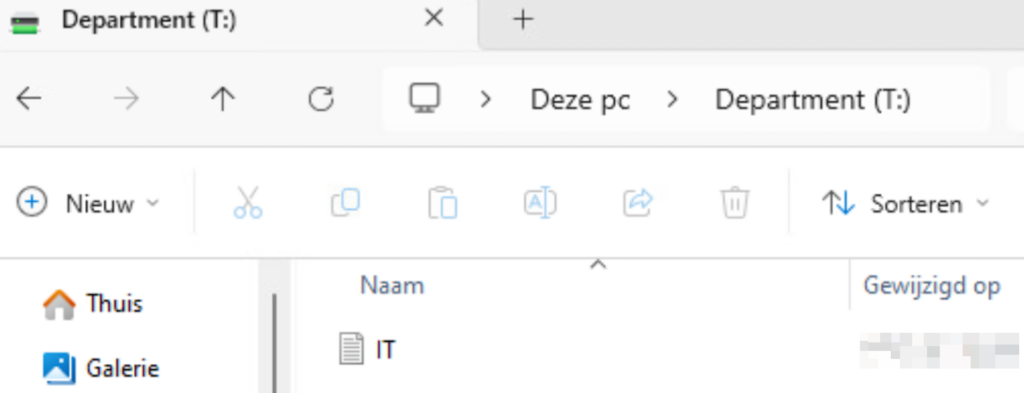
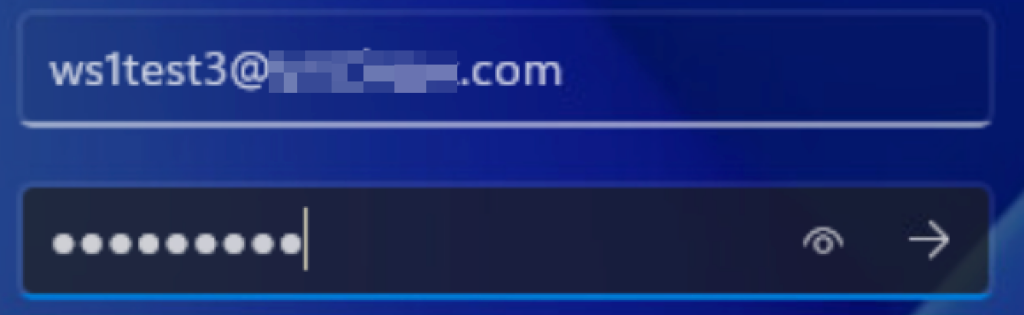
Now go ahead and log in with the second test user from the IT department.

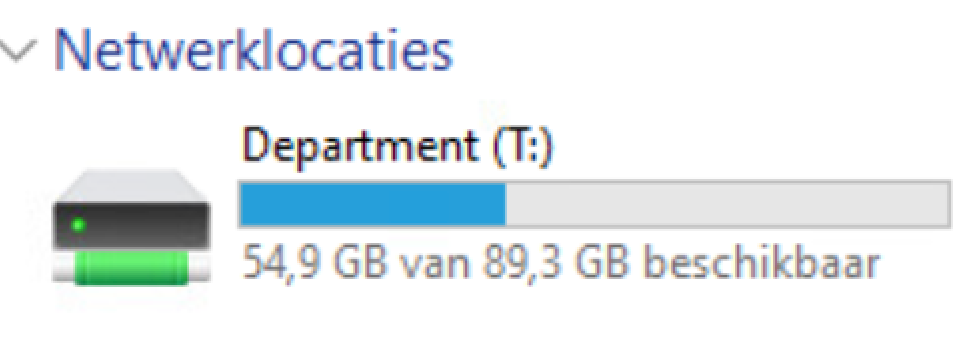
After login you will see the T drive (Department) again but this time mapped to IT share.
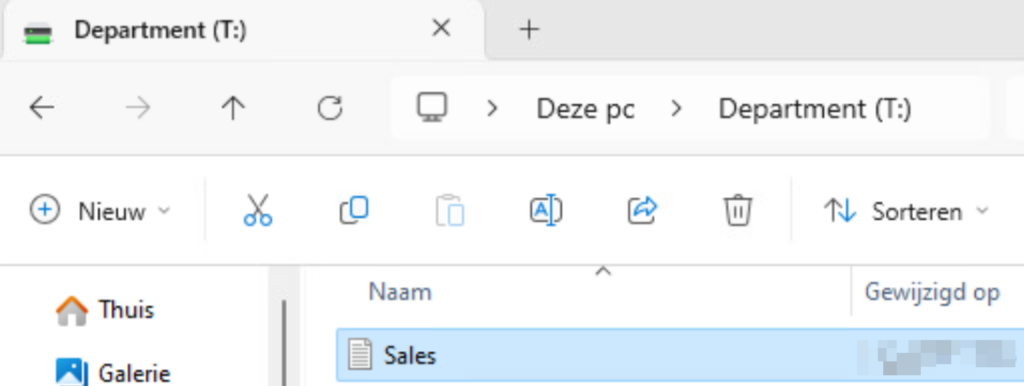
Last log in with the third test user from the Sales department.
This time you will see the T drive (Department) but mapped to the Sales network share.
If you have any suggestions, please let me know.