
There are companies that work with different shifts or temporary users.
Multiple users log in to the same device. In this case you can use VMware Workspace ONE UEM Windows Corporate – Shared to manage the device.
In this blog I explain how this works. I am using UEM version 23.6.0.3 (2306).
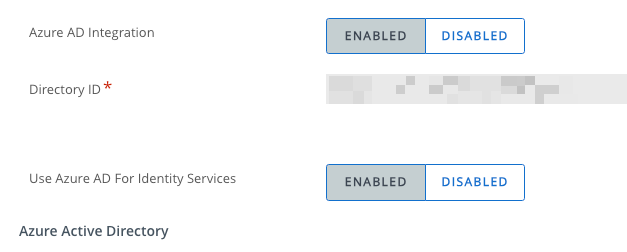
Currently it only works with Azure AD users, so you must have already integrated the UEM SaaS environment with the Azure AD tenant.
We assume that you already have UEM and AAD working with Corporate – Dedicated devices.
First, create a support ticket with VMware to activate these two Feature Flags in your UEM SaaS tenant.
According to some documentation these features should already be enabled, but in our environment it was not the case and it took some time to find out, but thanks to VMware support and especially Deepinder Singh Kalsi for getting this working.
# MultiUserPhase1EnrollmentSupportFeatureFlag
# DeviceStateChannelInterfaceEnabledFeatureFlag
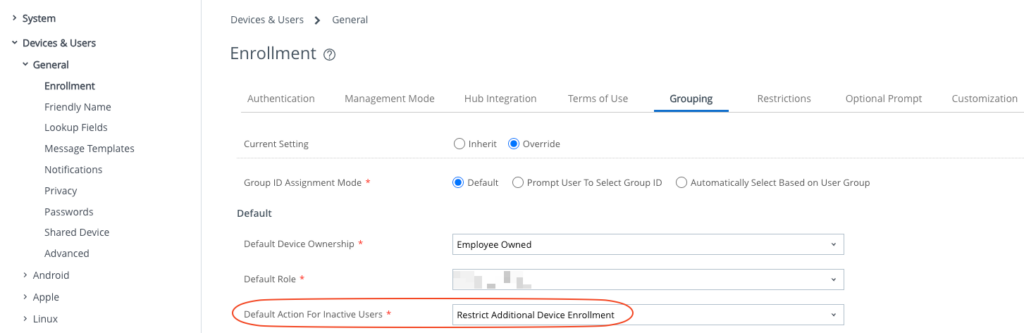
In UEM the “Default Action For Inactive Users” must set to “Restrict Additional Device Enrollment“
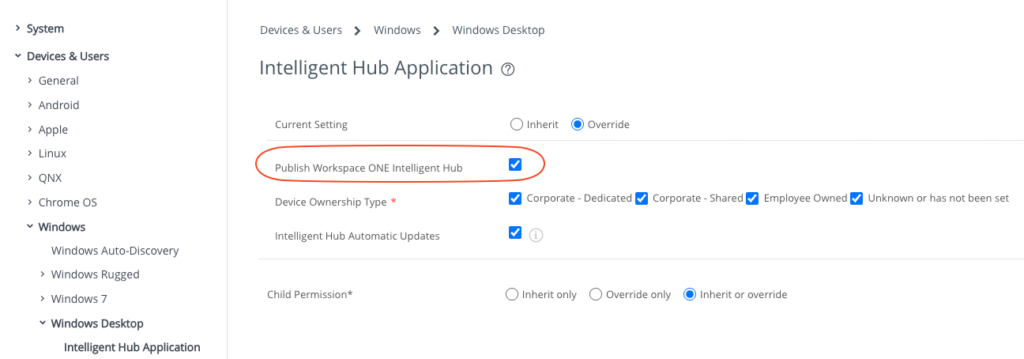
In UEM make sure “Publish Workspace ONE Intelligent Hub” is enabled.
You can use fully OOBE with Windows Autopilot or just Join the device to Azure AD when you have a local Admin account. I will show the second option using a virtual machine.
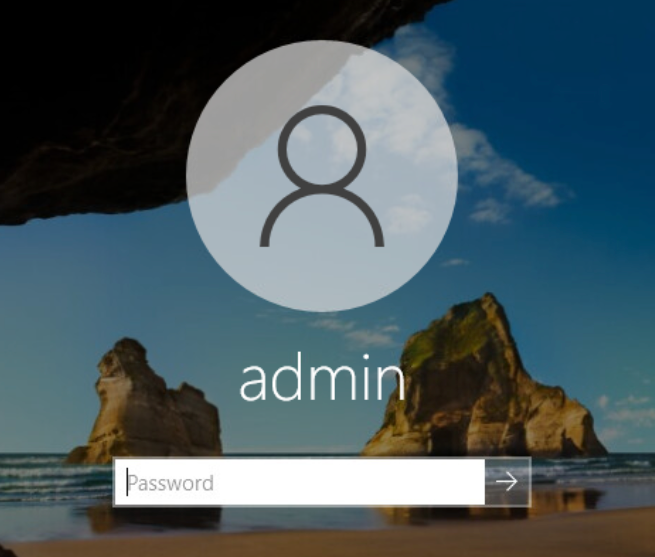
Log in to Windows machine using a local Admin account.
You need the Serial Number of the machine to register it in UEM as Corporate – Shared.
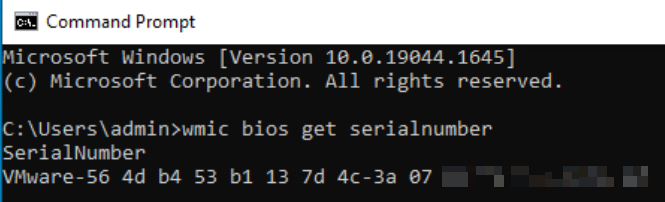
Open the Command Prompt and type this command to find the Serial Number.
wmic bios get serialnumber
In UEM console Register the device as Corporate – Shared with the Serial Number.
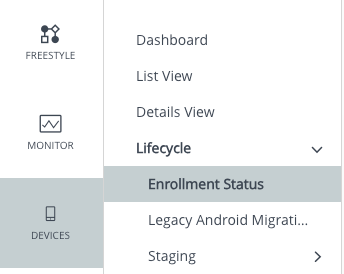
Go to the Devices – Lifecycle – Enrollment Status.
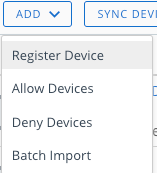
Click on ADD – Register Device.
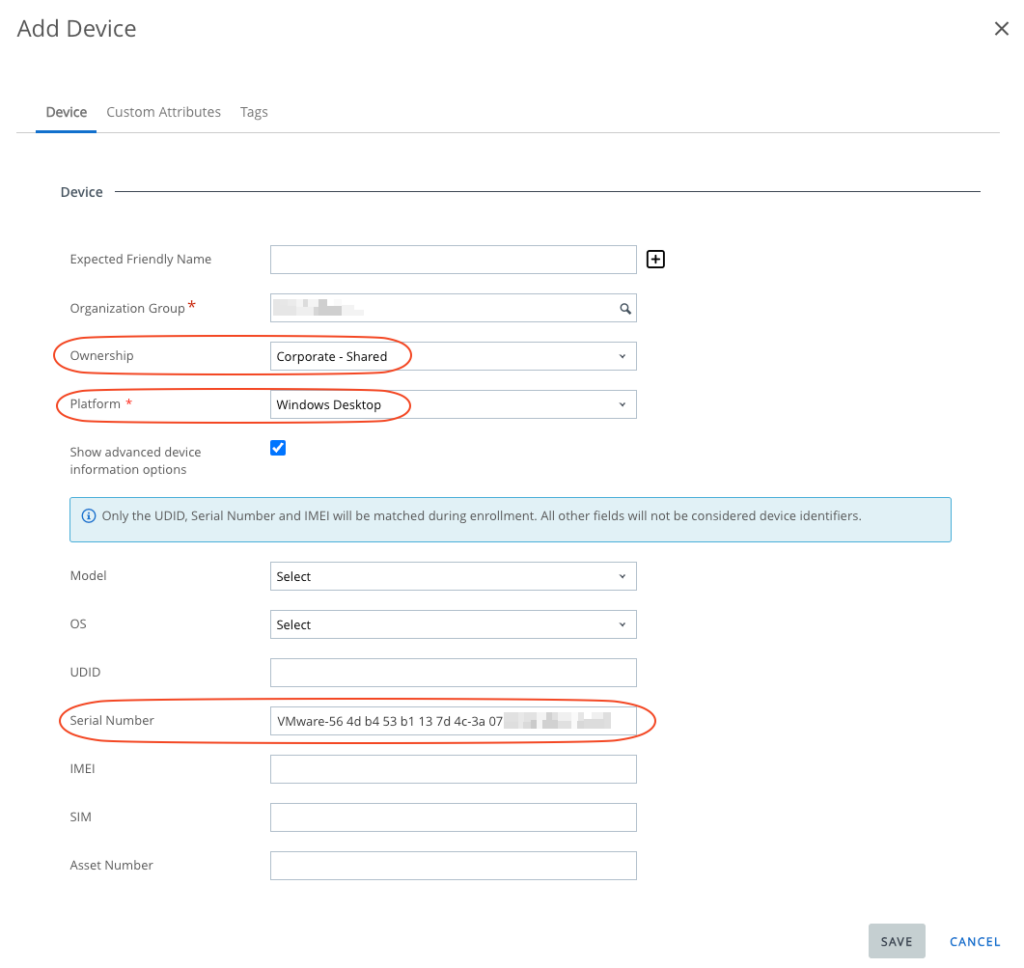
Select Ownership Corporate – Shared and Platform Wndows Desktop and type in the Serial Number then click on SAVE.
You see the Device Pre-enrollment Registration Record as Corporate – Shared.

Now go back to Windows machine and Join the machine to Azure AD.
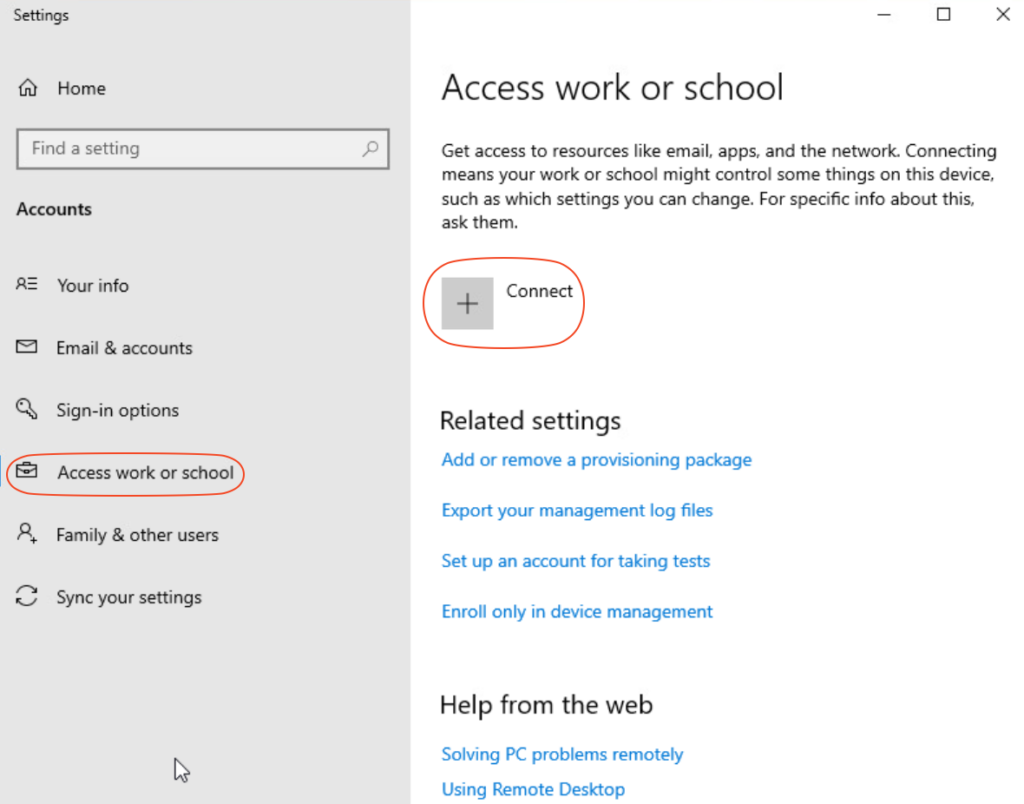
In Windows Settings – Access work or school click on Connect.
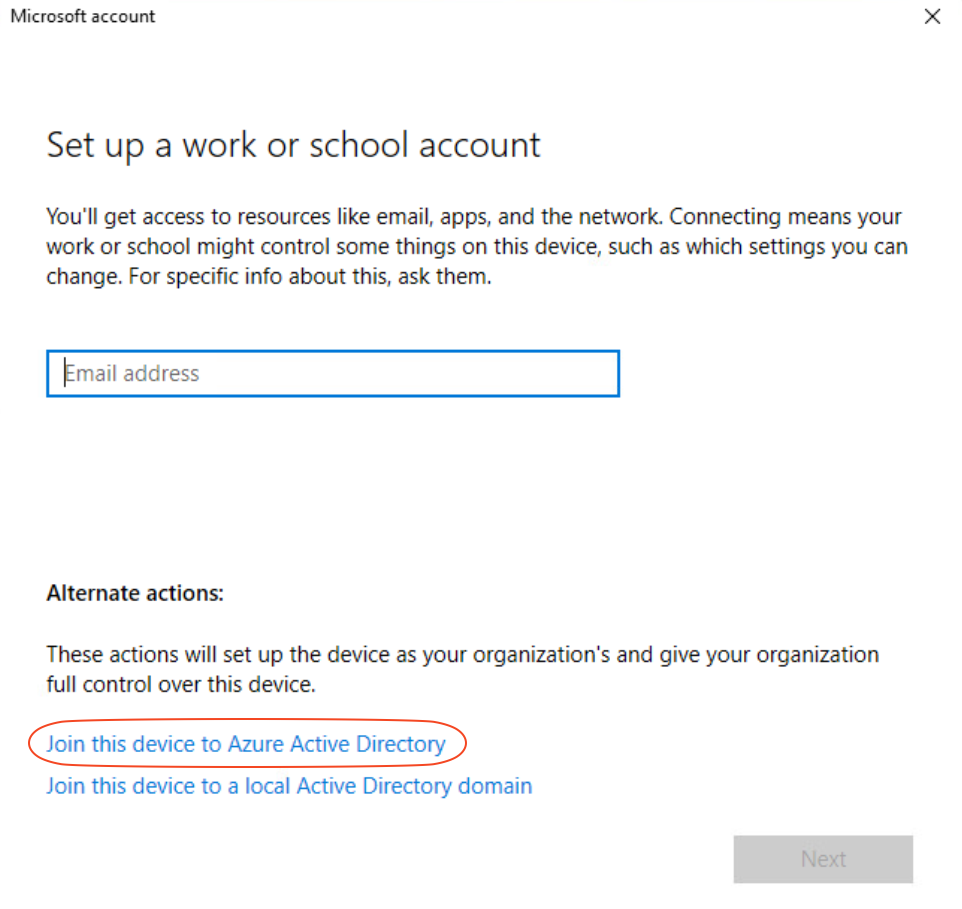
In Microsoft account window click on Join this device to Azure Active Directory.
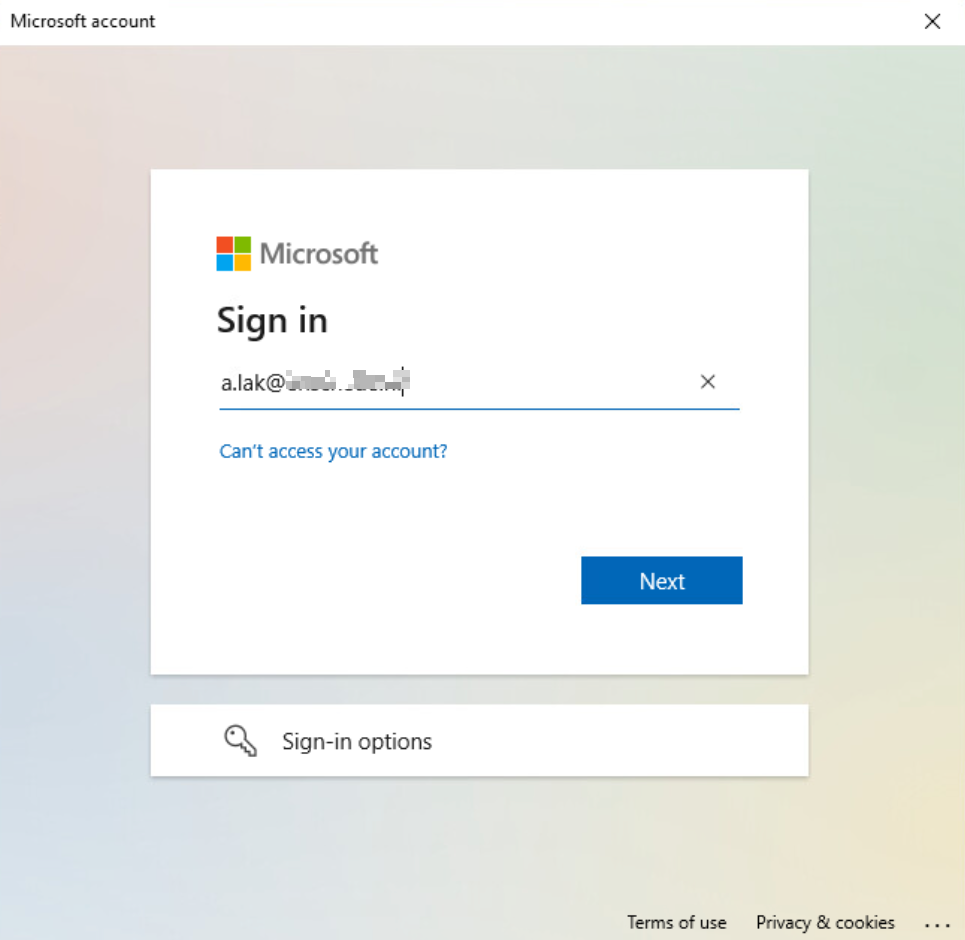
Type in the first AAD user account and click on NEXT. The first account will always get the local admin permission and all other accounts will get the user account permission.
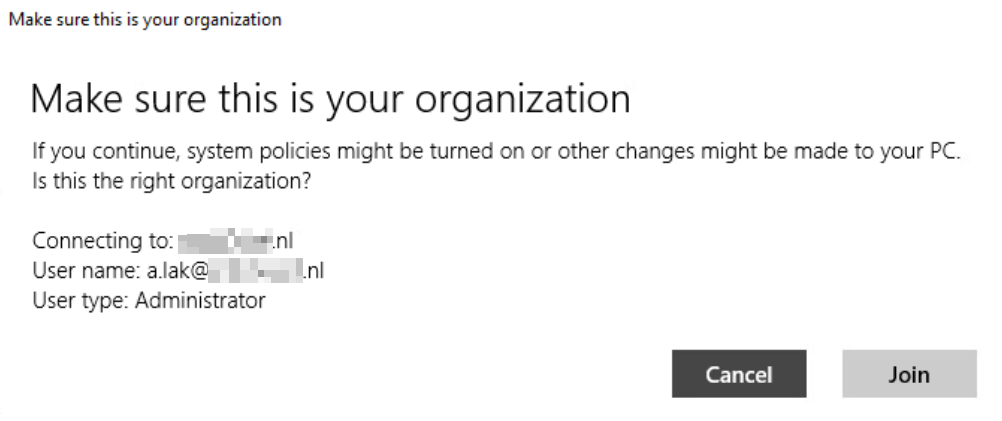
Click on Join.
Click on DONE.
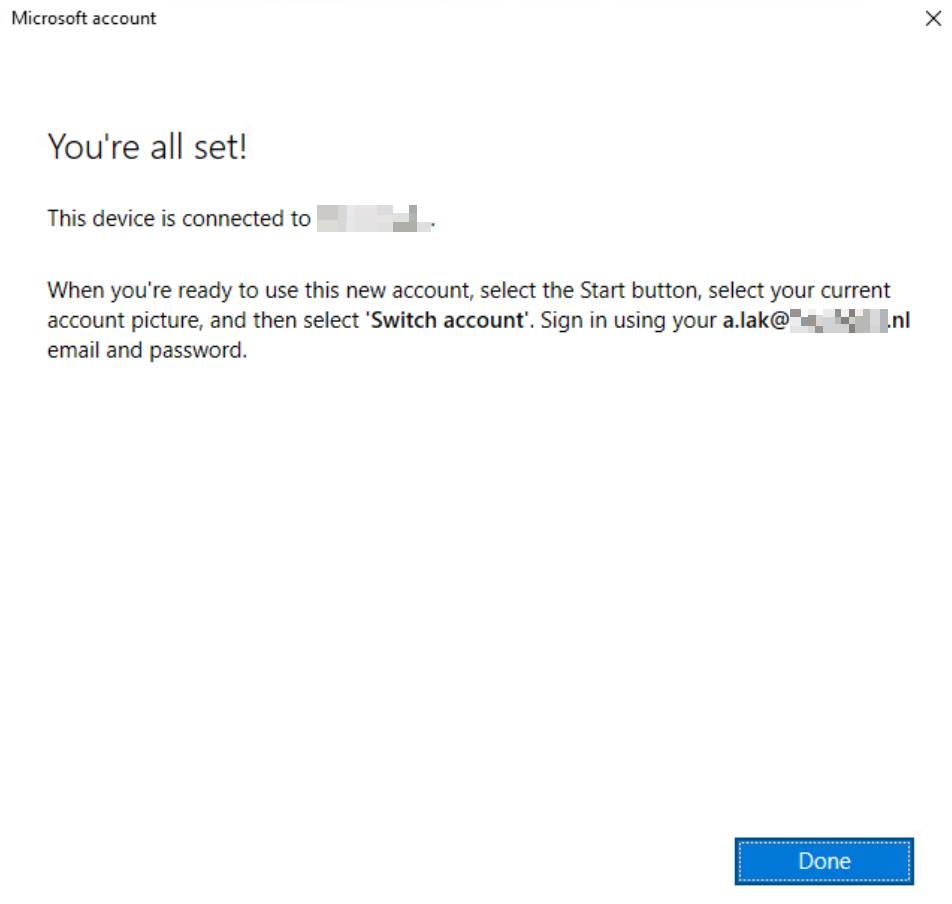
The device is connected to Azure AD.

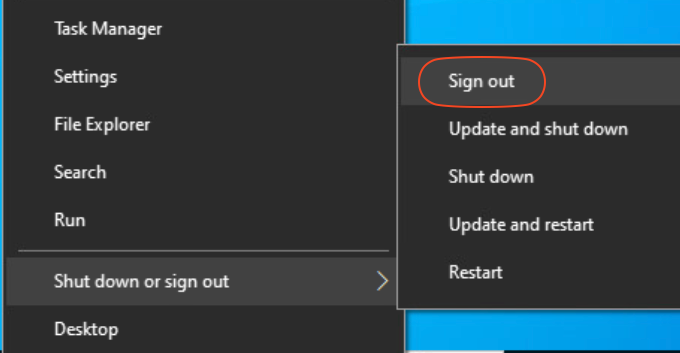
Sign out from windows local admin account.
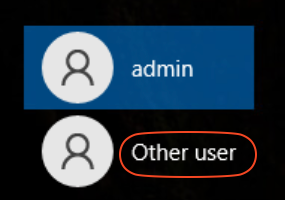
Click Other user.
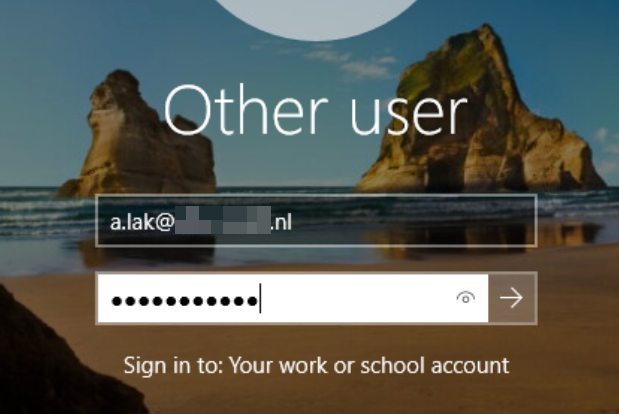
Log in with your AAD first user account.
Wait until the device is Setting up.
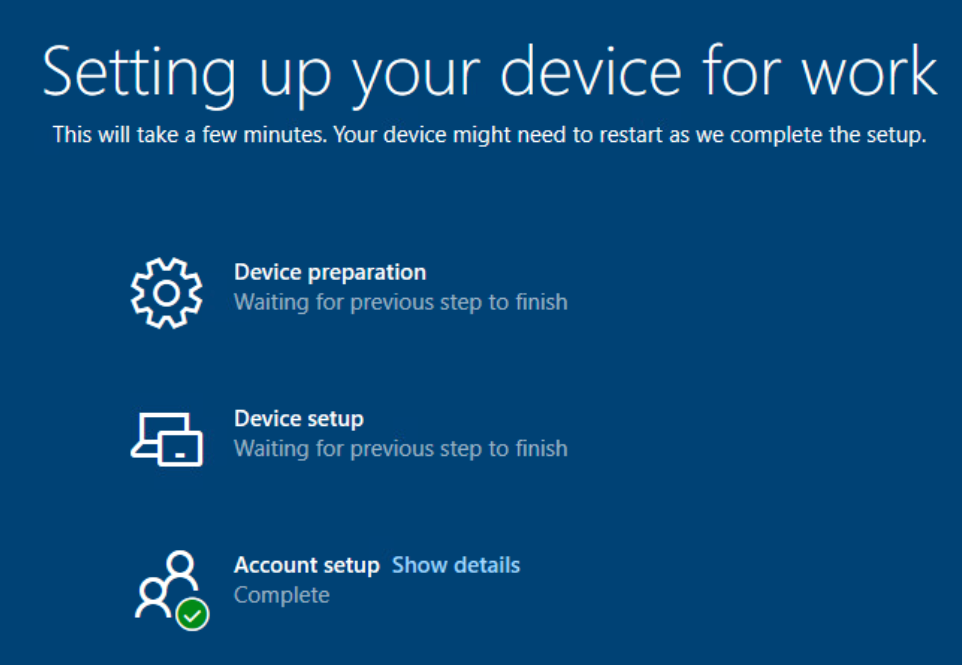
At this point you will notice that Workspace ONE Intelligent Hub is installed automatically. This is required to install IH for all users. Never install Intelligent Hub manually for Shared devices.

Start the Hub and log in as the first user.
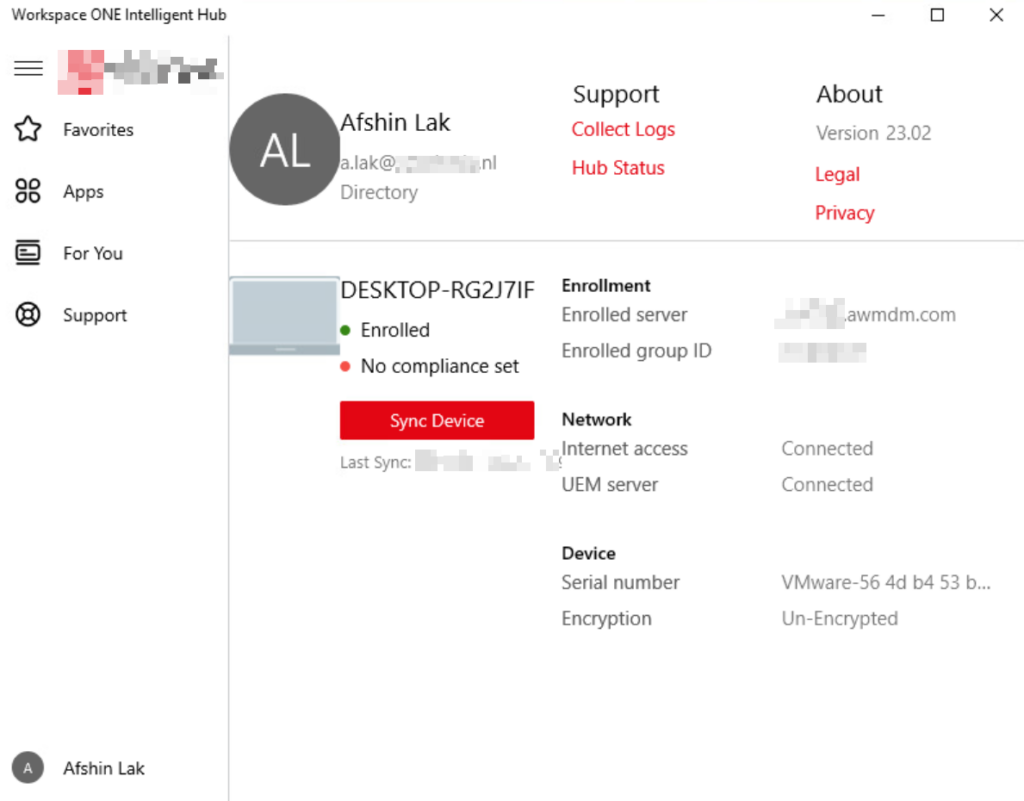
In UEM check the current user name.

Restart the windows machine and log in with the second AAD account.
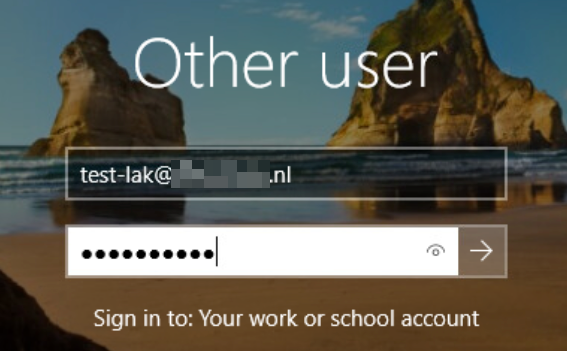
Start the Intelligent Hub and log in with the second AAD account. Notice the same machine with the different user account.
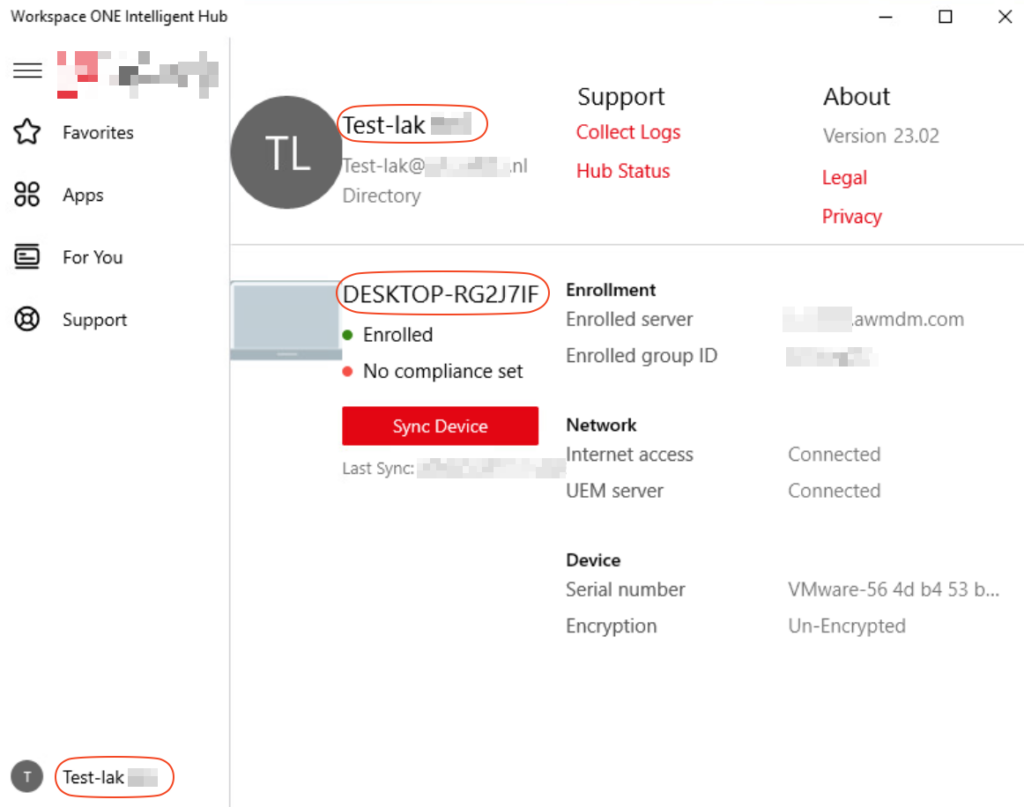
Also check the UEM console to see the different user name on the same windows machine.

Currently there are some limitations with Shared devices but VMware is working to resolve these limitations with upcoming releases.