Some organisations using Port-Based Authentication to prevent unauthorised client devices from gaining access to the network.
The client device needs to have a certificate to authenticate.
Integrating Internal Certificate Authority with Workspace ONE UEM allows you to provide computer certificates to client devices.
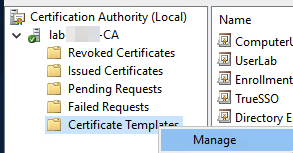
First open the Certification Authority.
![](https://afshinlak.com/wp-content/uploads/2023/05/image.png)
Right click on Certificate Template then click on Manage.
![](https://afshinlak.com/wp-content/uploads/2023/05/image-2.png)
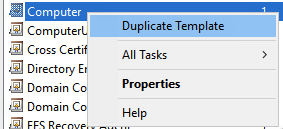
Right click on Computer then click on Duplicate Template.
![](https://afshinlak.com/wp-content/uploads/2023/05/image-3.png)
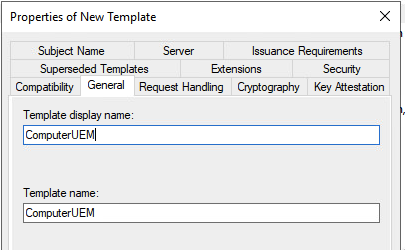
On General tab change the name of Template. for example ComputerUEM.
![](https://afshinlak.com/wp-content/uploads/2023/05/image-4.png)
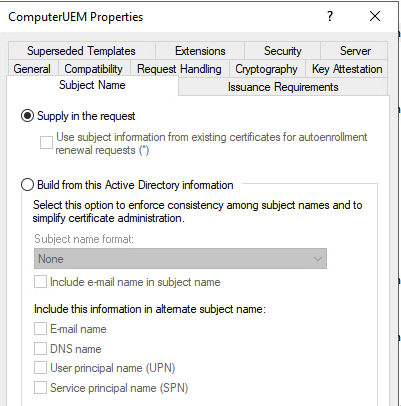
On Subject Name tab choose the Supply in the request.
![](https://afshinlak.com/wp-content/uploads/2023/05/image-5.png)
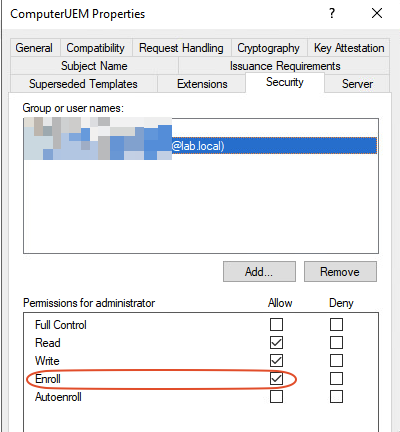
On Security tab add the account which has Enroll permission.
![](https://afshinlak.com/wp-content/uploads/2023/05/image-6.png)
Right click on Certificate Template – New – Certificate Template to Issues.
![](https://afshinlak.com/wp-content/uploads/2023/05/image-7.png)
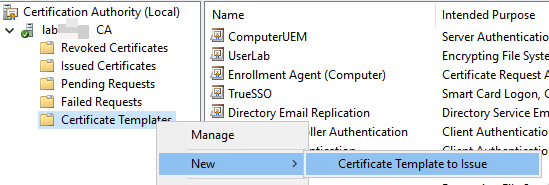
Add the ComputerUEM to Templates.
![](https://afshinlak.com/wp-content/uploads/2023/05/image-32.png)
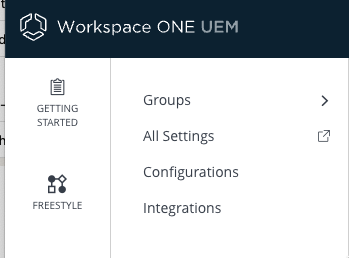
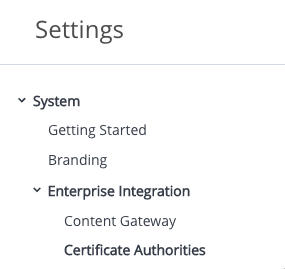
Log in to WS1 UEM and go to All Settings.
![](https://afshinlak.com/wp-content/uploads/2023/05/image-9.png)
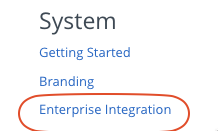
Click on Enterprise Integration.
![](https://afshinlak.com/wp-content/uploads/2023/05/image-10.png)
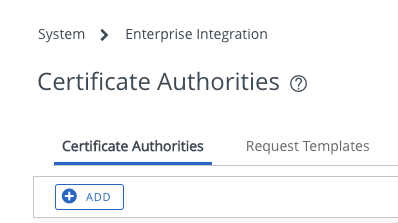
Click on Certificate Authorities.
![](https://afshinlak.com/wp-content/uploads/2023/05/image-11.png)
Click Add.
![](https://afshinlak.com/wp-content/uploads/2023/05/image-12.png)
Type a Name. Choose Microsoft ADCS. Type the CA server Name and Authority Name. Type the Service Account Username and Password.
![](https://afshinlak.com/wp-content/uploads/2023/05/image-13.png)
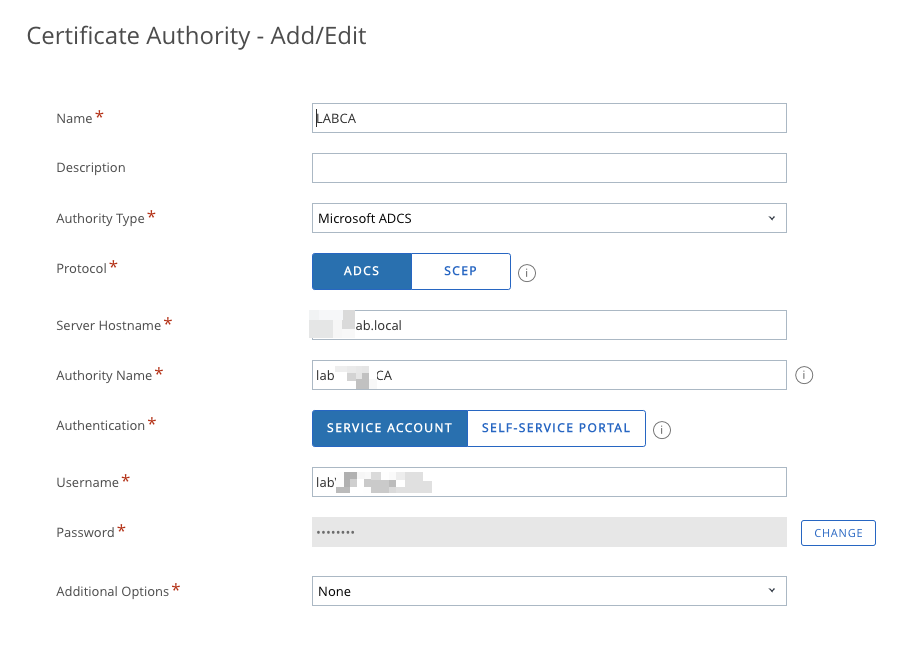
Click on Test Connection then SAVE.
![](https://afshinlak.com/wp-content/uploads/2023/05/image-14.png)
Click on Request Templates.
![](https://afshinlak.com/wp-content/uploads/2023/05/image-15.png)
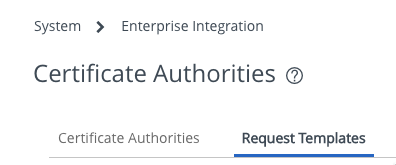
Type the Name, Issuing Template, Subject Name, SAN Type.
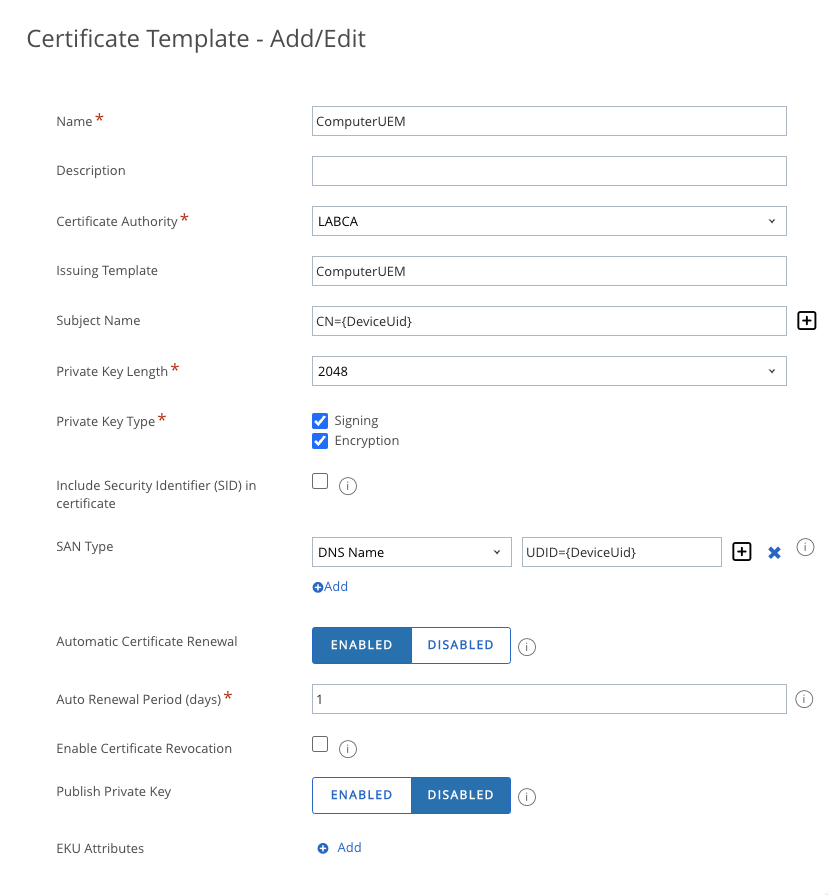
![](https://afshinlak.com/wp-content/uploads/2023/05/image-16.png)
Click on SAVE.
![](https://afshinlak.com/wp-content/uploads/2023/05/image-17.png)
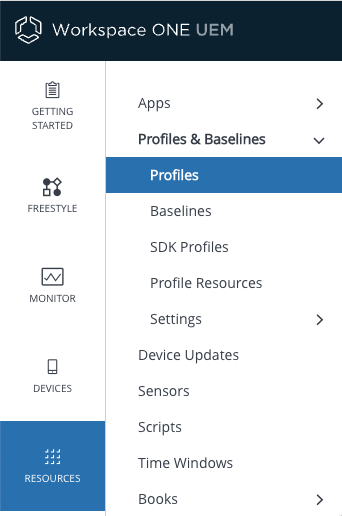
In WS1 UEM go to Profiles.
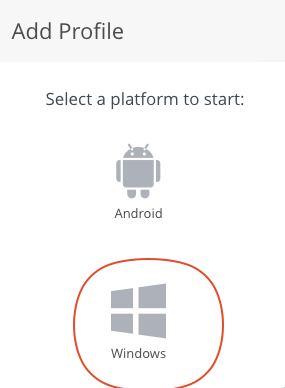
![](https://afshinlak.com/wp-content/uploads/2023/05/image-18.png)
Click Add Profile.
![](https://afshinlak.com/wp-content/uploads/2023/05/image-19.png)
Select Windows.
![](https://afshinlak.com/wp-content/uploads/2023/05/image-20.png)
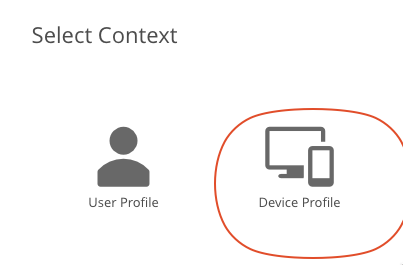
Select Device Profile.
![](https://afshinlak.com/wp-content/uploads/2023/05/image-21.png)
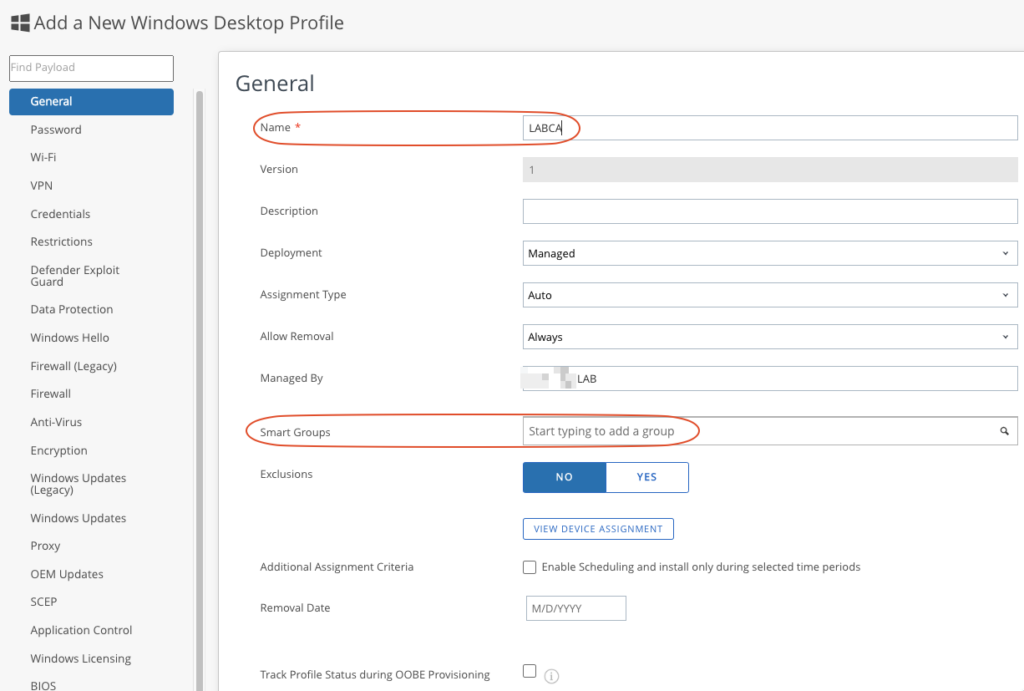
Type the Name and add a Smart Group which receive the certificate.
![](https://afshinlak.com/wp-content/uploads/2023/05/image-22-1024x691.png)
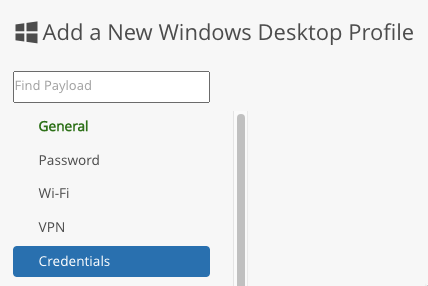
Click on Credentials.
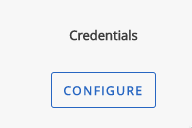
![](https://afshinlak.com/wp-content/uploads/2023/05/image-23.png)
Click on Configure.
![](https://afshinlak.com/wp-content/uploads/2023/05/image-24.png)
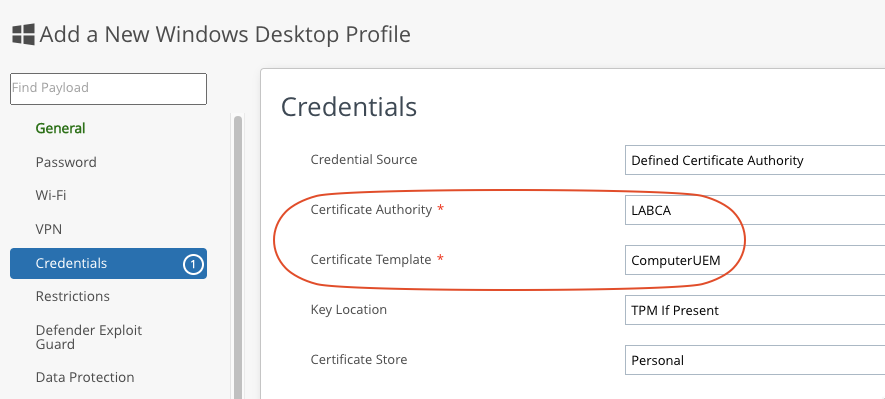
Choose the CA and the Template.
![](https://afshinlak.com/wp-content/uploads/2023/05/image-26.png)
Click on SAVE AND PUBLISH.
![](https://afshinlak.com/wp-content/uploads/2023/05/image-27.png)
Now if you Enroll a Windows device the device will get a certificate with device UDID which will use for Port-Based Authentication.
![](https://afshinlak.com/wp-content/uploads/2023/05/image-28-1024x189.png)
![](https://afshinlak.com/wp-content/uploads/2023/05/image-29.png)
![](https://afshinlak.com/wp-content/uploads/2023/05/image-30.png)
![](https://afshinlak.com/wp-content/uploads/2023/05/image-31.png)